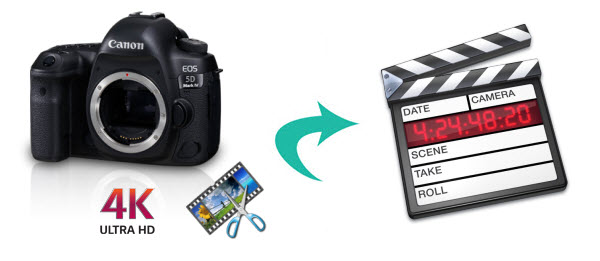
The iPad 2017, which appears to replace the iPad Air 2 in Apple's lineup, represents an affordable option for those who don't need the flashier, more expensive but better equipped iPad Pro. The specs of the screen are largely iPad-standard: a resolution of 2048 x 1536 and a pixel density of 264ppi, which gets a spot to play HD, especially UHD 4K videos, but you were just tired of the whole working-day and thought about enjoying them on your comfortable sofa/beds via your new arriving iPad (2017) to have fully relax, try to think what're your picture about? How can we play Ultra HD 4K videos on iPad (2017)? The following ways can lead you out.

Convert & Compress 4K Movies/Videos for iPad (2017) playback
Only a video fully compatible with iPad (2017) can be played on this Apple device without hassle. 4K videos are usually encoded with HEVC (H.265) and VP9 codecs, while iPad (2017) only supports playing H.264, MPEG-4 and Motion JPEG videos in formats .m4v, .mp4, .mov and .avi. It means that 4K videos cannot be watched on iPad directly unless converting 4K video to the acceptable formats.
On the other hand, 4K video occupies much space. A one minute 4K video at 30 fps approximately requires 375MB. Even you have got the 128GB model, it can only save 6 hours of 4K video. Actually, the available storage is much less than 128GB because of operating system, apps and other data. Therefore, it is advisable to compress 4K videos to 1080P or 720P to save space and keep more favorite movies/videos on iPad (2017).
Best 4K to iPad (2017) converter
With the help of Dimo Video Converter Ultimate for Mac, you can easily achieve the goal. With the professional 4K video converter for Mac, you can effortlessly encode 4K MP4, MTS, MOV, MXF, XAVC, AVI, etc. to iPhone/iPod/iPad for smoothly playing and editing in various non-linear editing systems (NLEs), including FCP, Adobe Premiere Pro, Avid Media Composer, iMovie, Davinci Resolve and more.
Besides, this 4K Video Converter is also available to customize the output resolutions to any size like 1080p, 2K, 4K as users want. More than that, this software can even free download online videos from YouTube, Instagram, Twitter for editing and playing. For Windows users, please turn to Dimo Video Converter Ultimate. Now, download the software on computer and follow the guide below to start conversion.
Free Download Dimo Video Converter Ultimate for Mac/Win:


Other Download:
- Cnet Download: http://download.cnet.com/Dimo-Vi ... 194_4-77376153.html
- Soft32 Download: http://dimo-video-converter-ultimate-for-mac.soft32.com/
Detailed Gudie to convert and transmit 4K to iPad (2017)
a. Install and run Dimo Video Converter Ultimate for Mac;
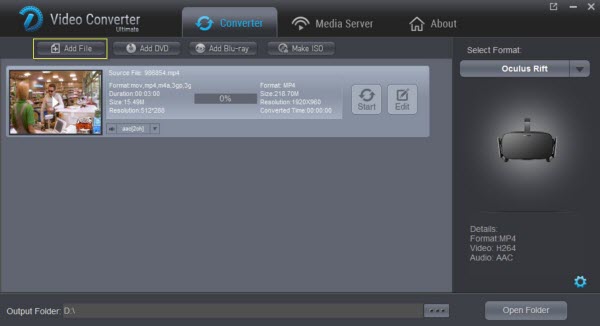
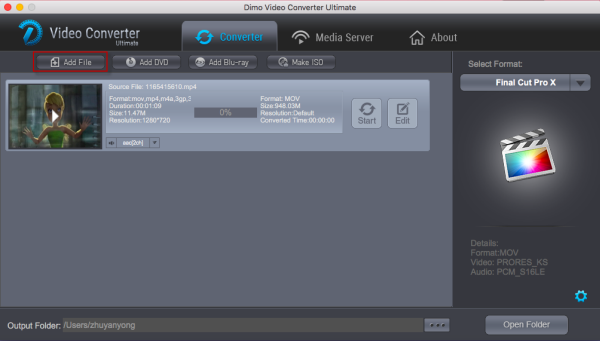
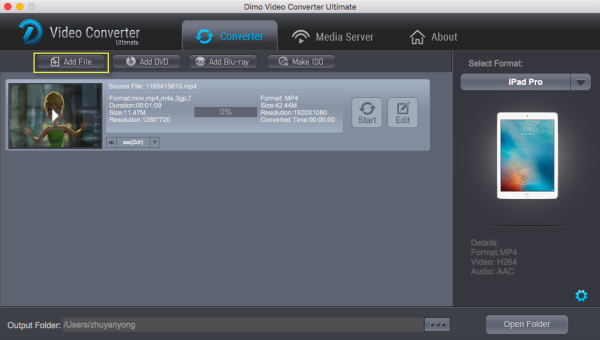
b. Run the program and load your 4K UHD videos into this 4K video converter for iPad by clicking "Add File" or directly dragging through your Mac;
c. Under "Select Format", choose "Apple Device" >> "iPad".
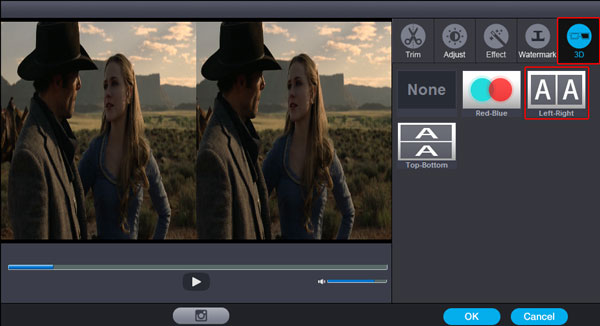
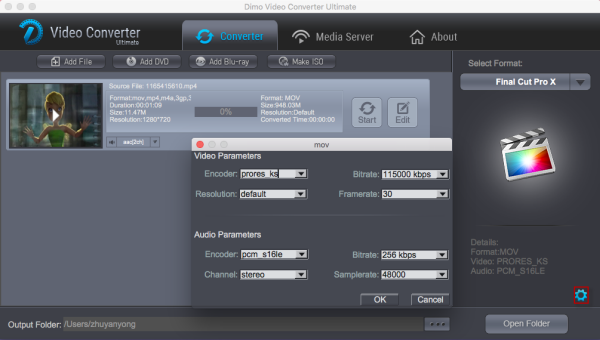
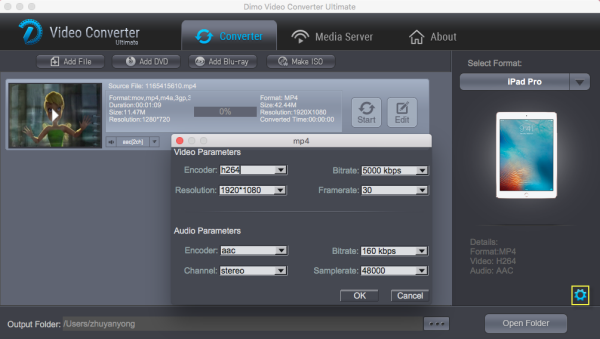
Tip: You can click "Settings" to set the video/audio parameter if you like to custom "encoder", "bite", "Resolution" etc.
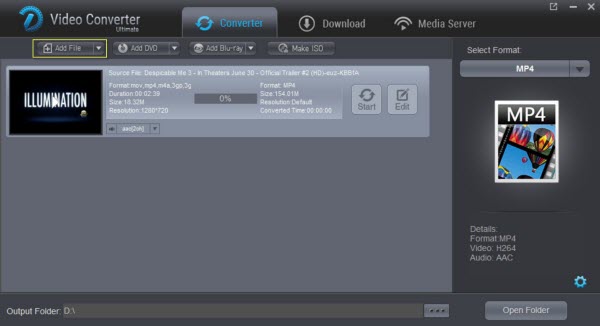
d. Click "Start" to convert 4K videos to iPad and you could find the converted one saved in your output folder;
Learn how to share converted 4K UHD Videos to iPad (2017) wirelessly
a. Install Dimo Video Converter Ultimate for Mac and run the program;
b. Keep your MAC and iPad in the same network (LAN);
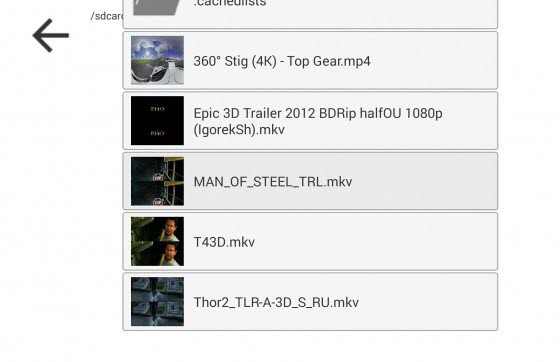
c. Turn to "Media Server" and click "Browse..." to locate the source 4K UHD Videos files;
d. Press "Share" and use your device to scan the upcoming QR code or write http://IP ORT like "http://192.168.1.109:8868/" (without quotation marks) into the address bar of the browser.
ORT like "http://192.168.1.109:8868/" (without quotation marks) into the address bar of the browser.
e. Double click the video link on the browser and view 4K UHD files on iPad (2017) wirelessly.
Free Download or Purchase Dimo Video Converter Ultimate for Mac/Win:


Need the lifetime version to work on 2-4 Macs so that your friends and family can instantly broaden their entertainment options? Please refer to the family license here.

Kindly Note:
The price of Dimo Video Converter Ultimate for Mac is divided into 1 Year Subscription, Lifetime/Family/Business License: $43.95/Year; $45.95/lifetime license; $95.95/family license(2-4 Macs); $189.95/business pack(5-8 Macs). Get your needed one at purchase page.
Related Software:
Lossless backup Blu-ray to MKV with all audio and subtitle tracks; Rip Blu-ray to multi-track MP4; Convert Blu-ray to almost all popular video/audio formats and devices; Copy Blu-ray to ISO/M2TS; Share digitized Blu-ray wirelessly.
A professional DVD ripping and editing tool with strong ability to remove DVD protection, transcode DVD to any video and audio format, and edit DVD to create personal movie.
Contact us or leave a message at Facebook if you have any issues.
Related Articles:
- Best Way to import MKV Files to iMovie for Editing
- Watch Free Kids Movies Online/Offiline
- Top 10 Yoga Songs List and Best Yoga Music Download Tips
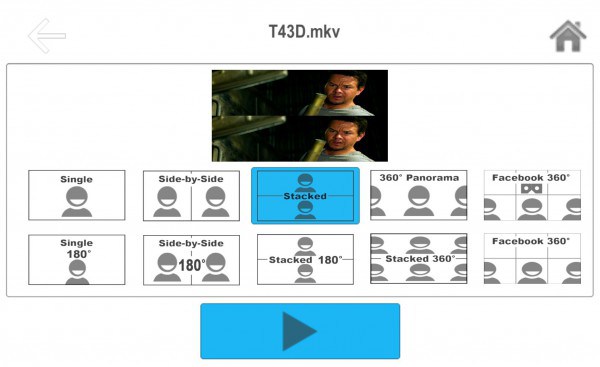
- How to Play 3D movies on Google Daydream
- How to Copy DVD to MacBook (Pro/Air) in the Simplest Way
- How can I Upload Spectre DVD to Amazon Cloud
- How to Enable VLC to Play MKV Files Beautifully
- How to Enable VLC to Play MKV Files Beautifully
- How to Enable VLC to Play MKV Files Beautifully
- How to Enable VLC to Play MKV Files Beautifully